
Creating a crypto wallet is one of the first things anyone needs to do before they can buy, hold, send, or receive cryptocurrency. The process is simpler than most people expect, but there are a few critical steps that must be followed carefully to ensure your assets remain safe and accessible.
This guide walks you through exactly how to create a crypto wallet from start to finish, including the most important security steps that many beginners overlook.
What You Need Before You Start
Before you create a crypto wallet, it helps to understand what you are setting up. A crypto wallet is a tool that stores the cryptographic keys that give you ownership and control over your digital assets on the blockchain. The most important type of wallet to use is a non-custodial wallet — one where you and only you hold your private keys.
KIML Wallet is a non-custodial crypto wallet available on iOS, Android, and the web. It is free to download, straightforward to set up, built with the security and privacy standards that every crypto user deserves from day one, and fully open source so anyone can inspect the code.
Step 1 — Download KIML Wallet
The first step is to download the KIML Wallet application from a trusted source. For iOS users, search for KIML Wallet in the Apple App Store. For Android users, download the APK directly from kimlwallet.com. You can also access the web wallet at app.kimlwallet.com. Always download wallets from official sources to avoid counterfeit applications designed to steal your funds.
Once installed or opened, select the option to create a new wallet.
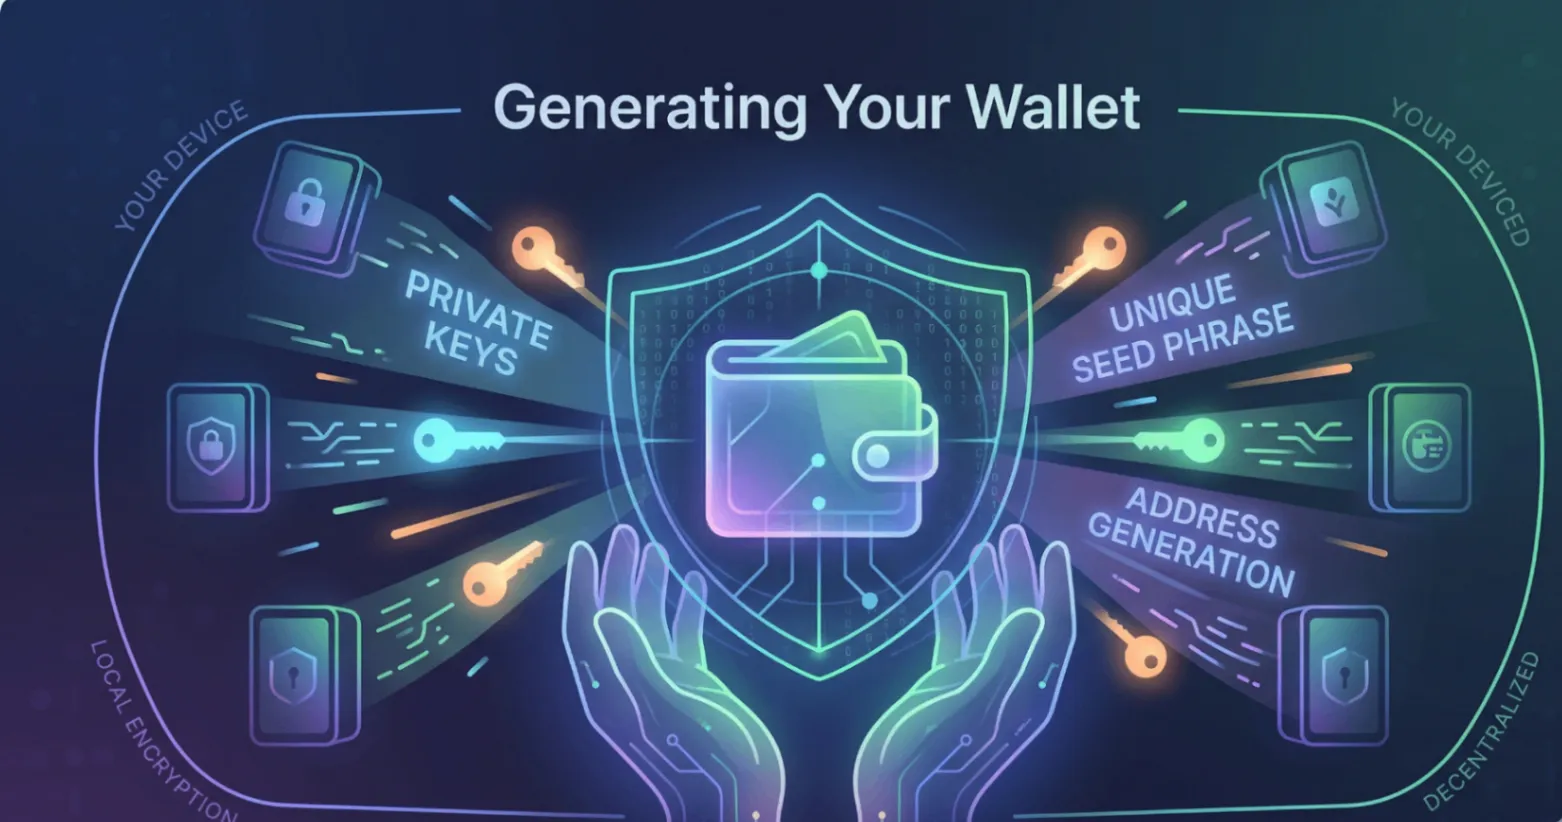
Step 2 — Generate Your Wallet
When you select create a new wallet, the application will generate a brand new wallet for you. This involves the app creating a unique set of cryptographic keys associated with your new wallet address.
This process happens entirely on your device. With a non-custodial wallet like KIML Wallet, these keys are never transmitted to any external server. They are generated locally and remain entirely under your control from the very first moment.
Step 3 — Write Down Your Seed Phrase
This is the most important step in the entire setup process. Pay close attention.
After generating your wallet, the application will display your seed phrase — a sequence of either 12 or 24 randomly selected words that serves as the master backup for your entire wallet. Every private key in your wallet can be recovered from this seed phrase.
You must write your seed phrase down by hand on paper immediately. Do not type it into any digital device. Do not take a screenshot. Do not store it in a notes app, email it to yourself, or save it in a cloud storage service. Write it on paper and store that paper somewhere physically secure, such as a locked drawer, a safe, or another location only you have access to.
Some users create two or three physical copies of their seed phrase and store them in separate secure locations. This is a sensible precaution for anyone holding significant amounts of cryptocurrency.
Once you have written down your seed phrase, the application will typically ask you to verify it by entering some or all of the words in the correct order. This step confirms that you have recorded it accurately before proceeding.
Step 4 — Set Up Security on Your Device
After your seed phrase is safely recorded, the next step is to enable security features on your wallet app. This typically includes setting a PIN code or enabling biometric authentication such as Face ID or fingerprint unlock.
These measures ensure that even if someone gains physical access to your device, they cannot open your wallet without your authorisation. Always use a PIN or biometric lock on any wallet app you install, without exception.
Step 5 — Explore Your Wallet Dashboard
Once your wallet is secured, take a few minutes to familiarise yourself with the interface. KIML Wallet provides a clear and intuitive dashboard that shows your crypto holdings, transaction history, and asset performance at a glance.
You will see your public wallet address, which is what you share with others when you want to receive cryptocurrency. Many wallets display this as both a text string and a QR code for easy scanning. You can share this address freely without any risk to your funds.
Step 6 — Receive Your First Cryptocurrency
To receive cryptocurrency, simply share your public wallet address with the sender. You can copy it directly from the app or let the sender scan your QR code. Once the transaction is confirmed on the blockchain, the funds will appear in your wallet balance automatically.
For your first transaction, consider receiving a small test amount before transferring larger sums, to confirm everything is working correctly end to end.
Key Security Rules to Remember
- Your seed phrase is sacred. No legitimate wallet provider, exchange, support team, or any other person will ever ask you for your seed phrase. If anyone asks for it, they are attempting to steal your funds.
- Your private key must never be shared. Whoever holds your private key has complete control over your funds. Treat it with the same seriousness as the seed phrase.
- Always verify wallet addresses before sending. Cryptocurrency transactions are irreversible once confirmed. A single mistake in a wallet address can result in a permanent loss of funds.
- Keep your device secure. Use screen locks, keep your operating system updated, and be cautious about what applications you install on the same device as your wallet.
Final Thoughts
Creating a crypto wallet is a straightforward process that takes only a few minutes. The steps themselves are simple. What requires care and attention is the security practice around your seed phrase and private keys. Get those right from the beginning and you will have a strong, secure foundation for your entire crypto journey.
Download KIML Wallet:
- Android APK — kimlwallet.com
- iOS App — App Store
- Web Wallet — app.kimlwallet.com